Agent Basics
Create an Agent
Use this quick guide creating an agent for use with the Agent Desktop. This will route calls to an Agent based on the skill assigned to that agent.
We need to establish the skills of the Agent first.
Step 1: Create skills.
From the Dashboard, click on Skills.
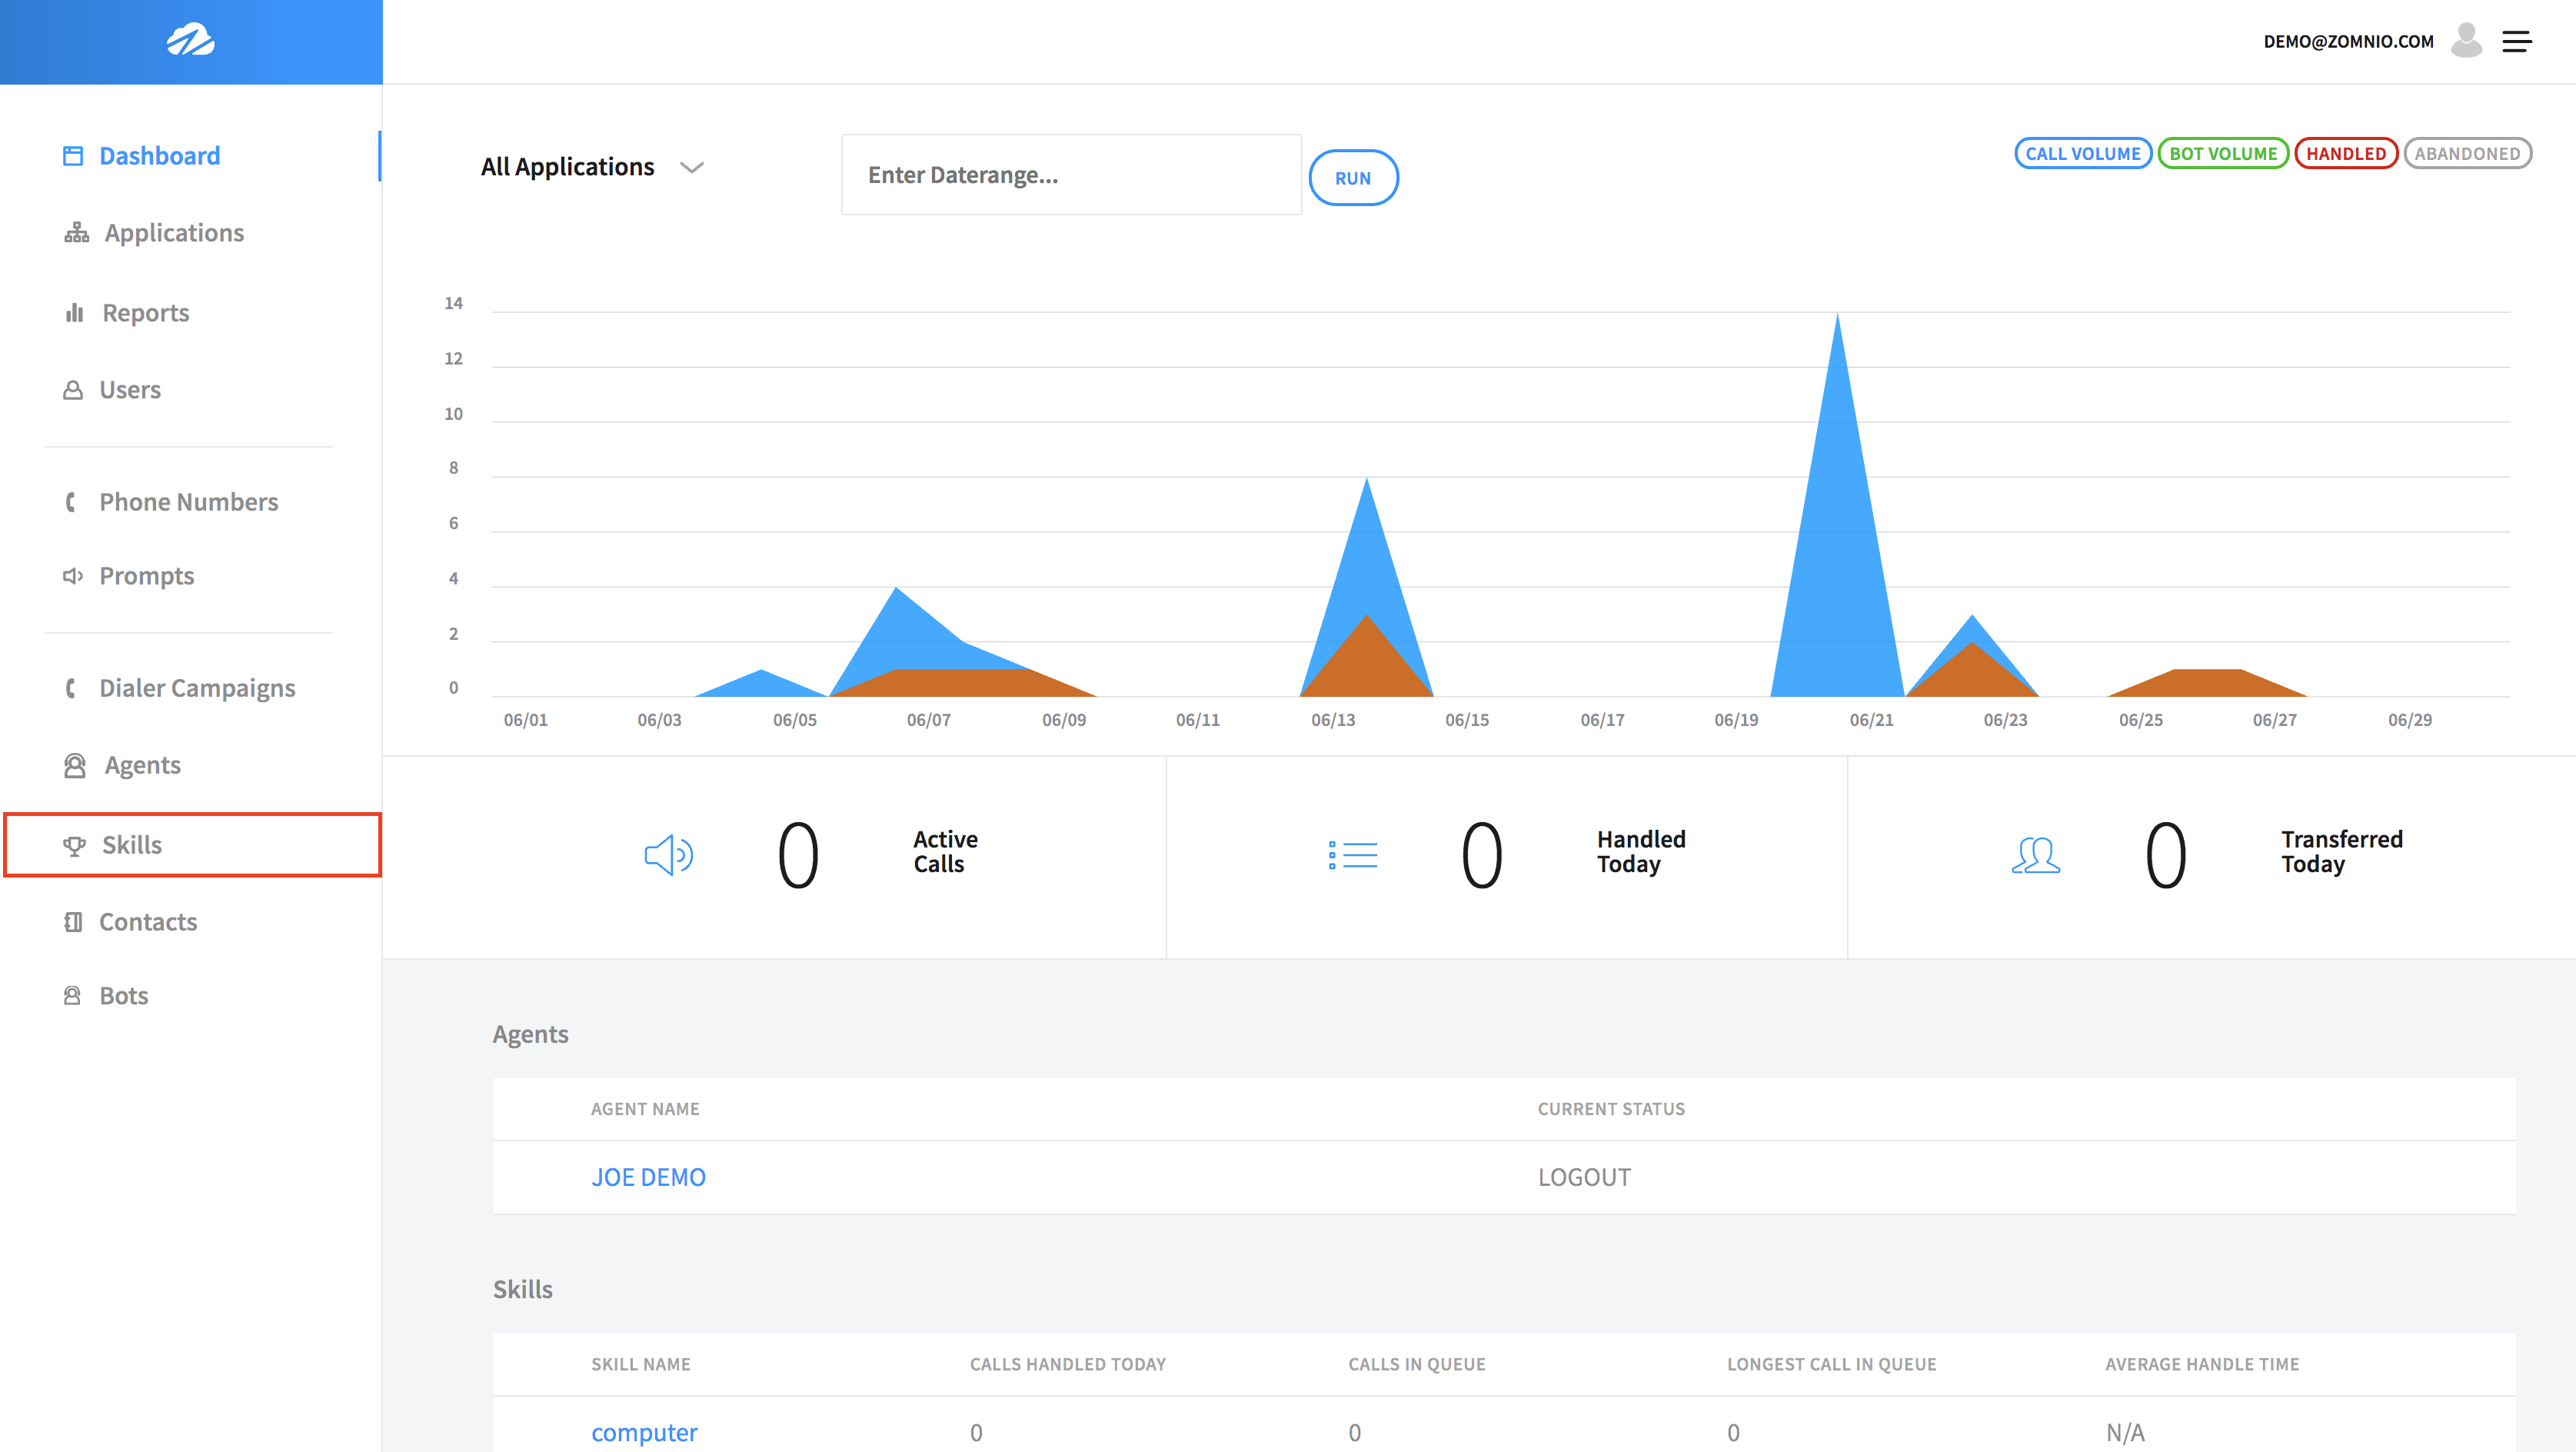
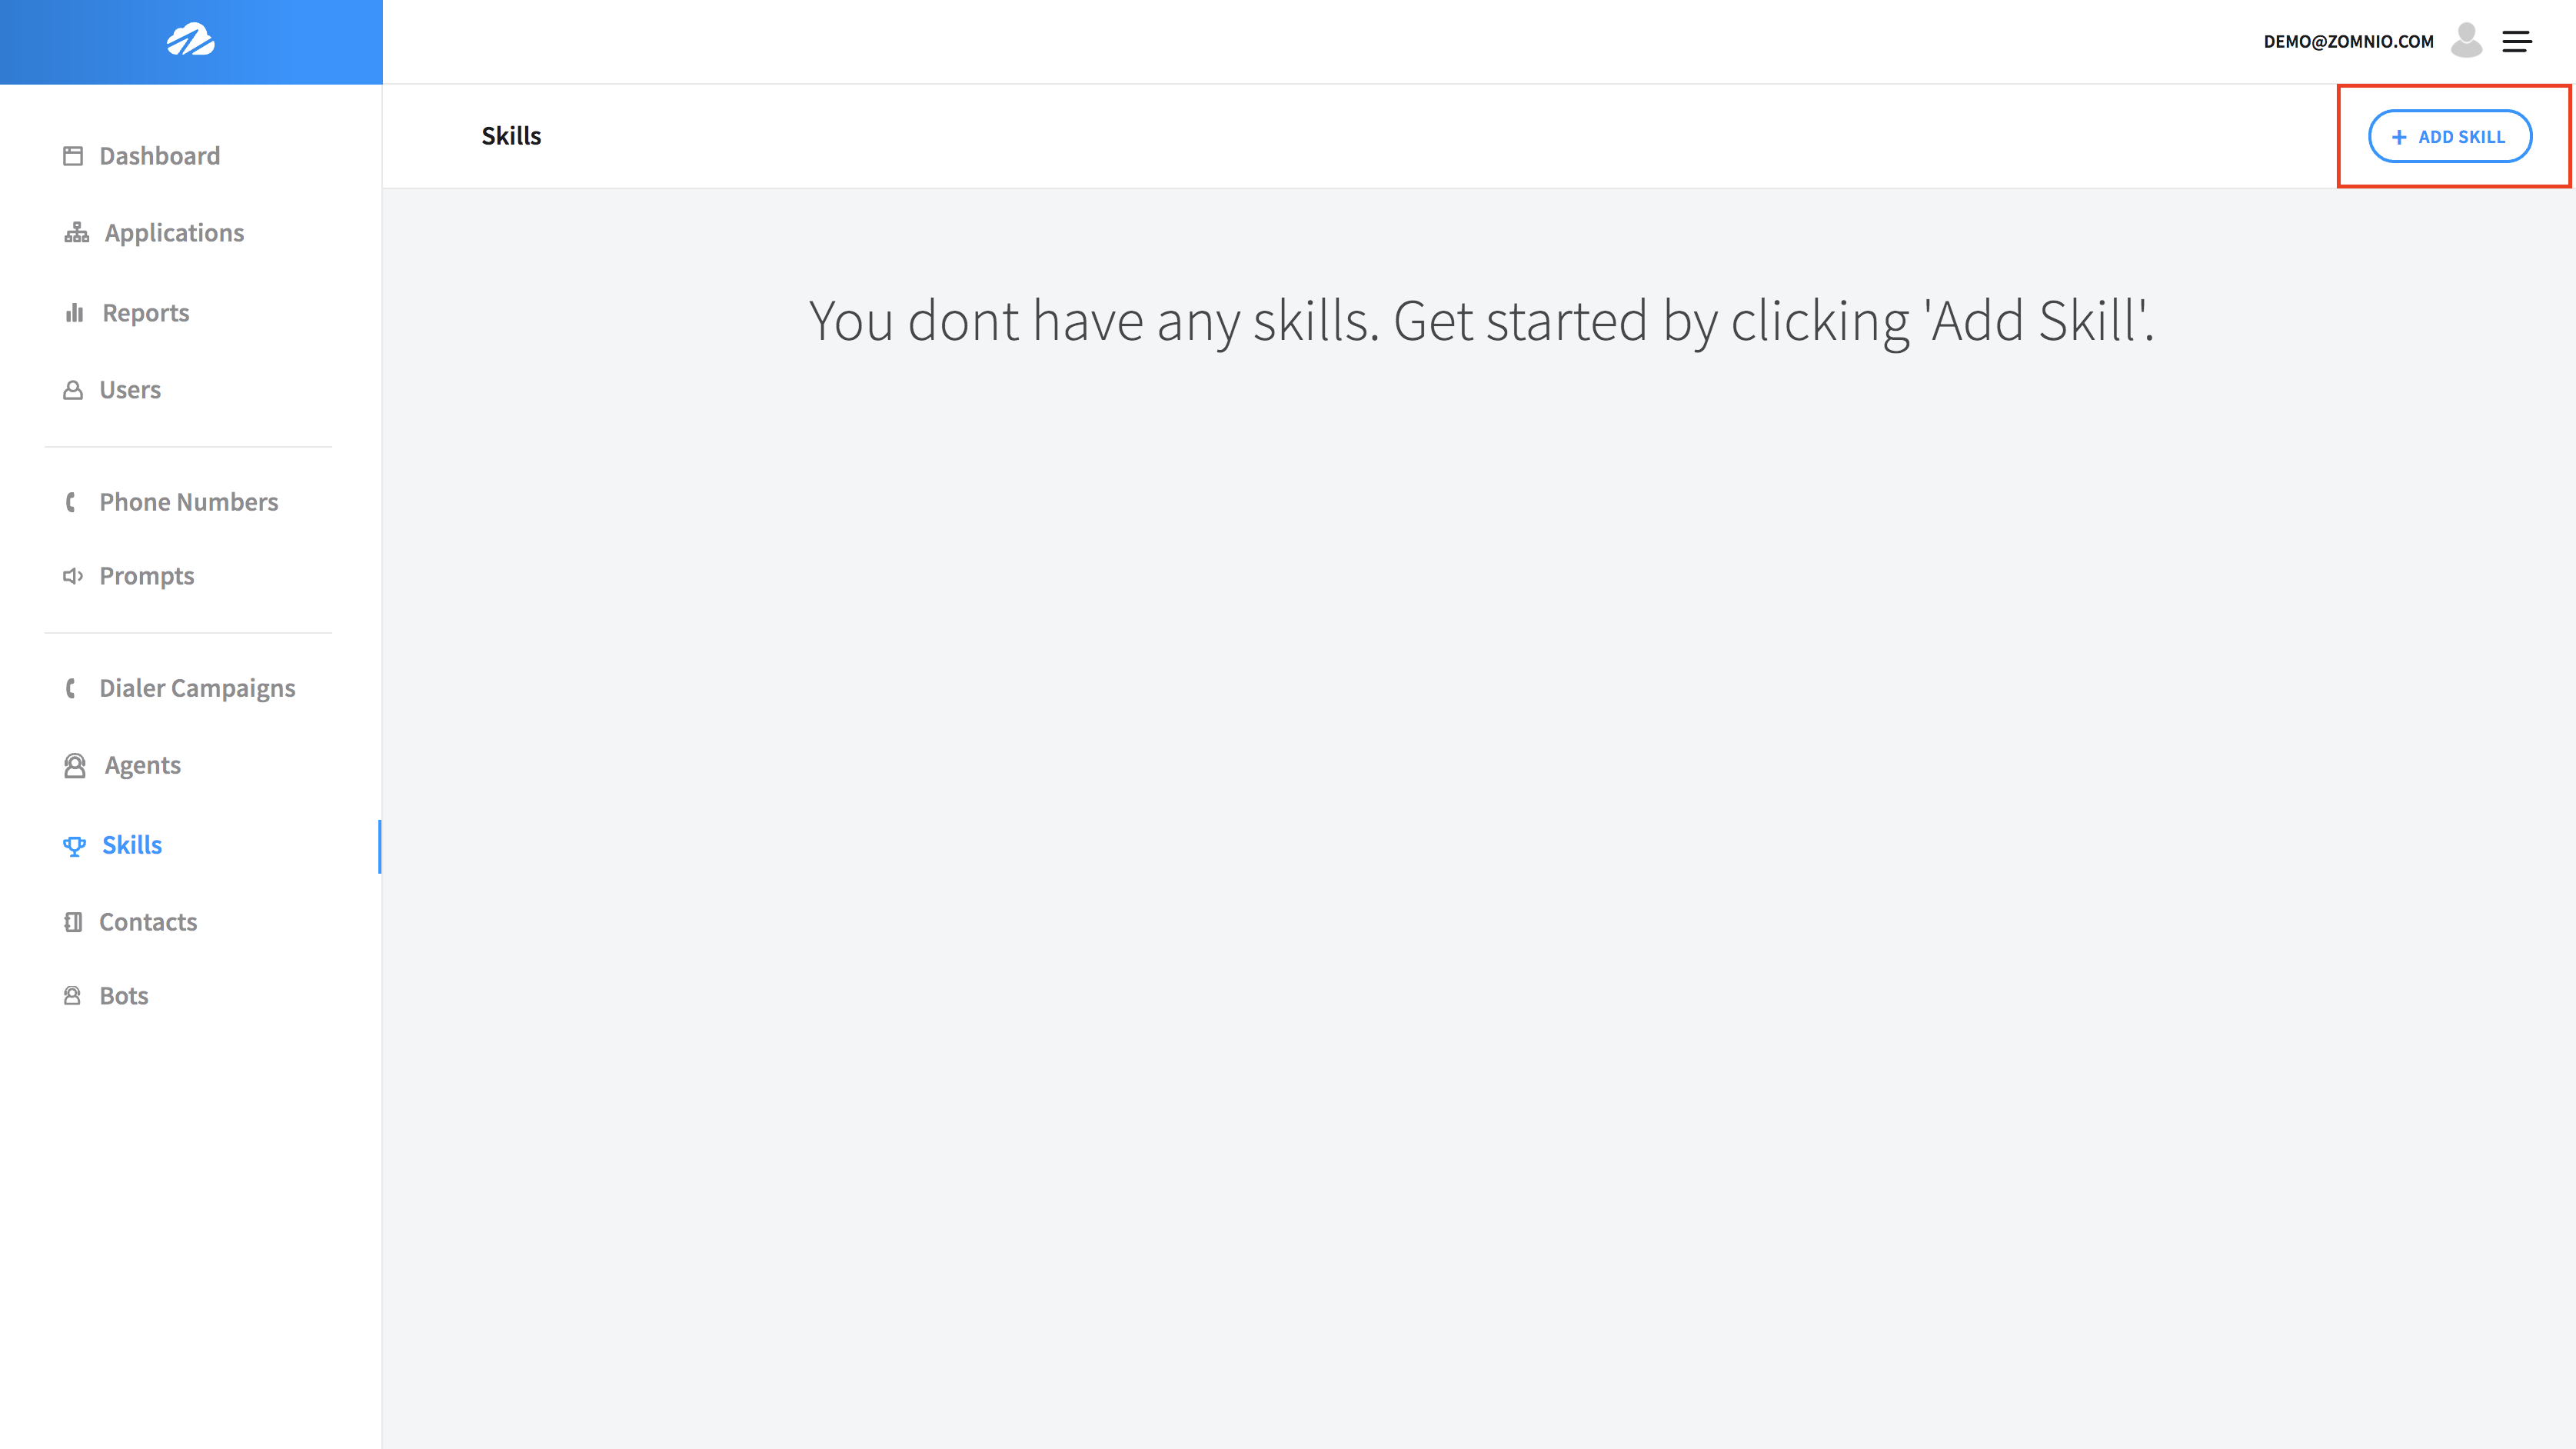
You don't have any skills yet! Click on + Add Skill in the upper right corner.
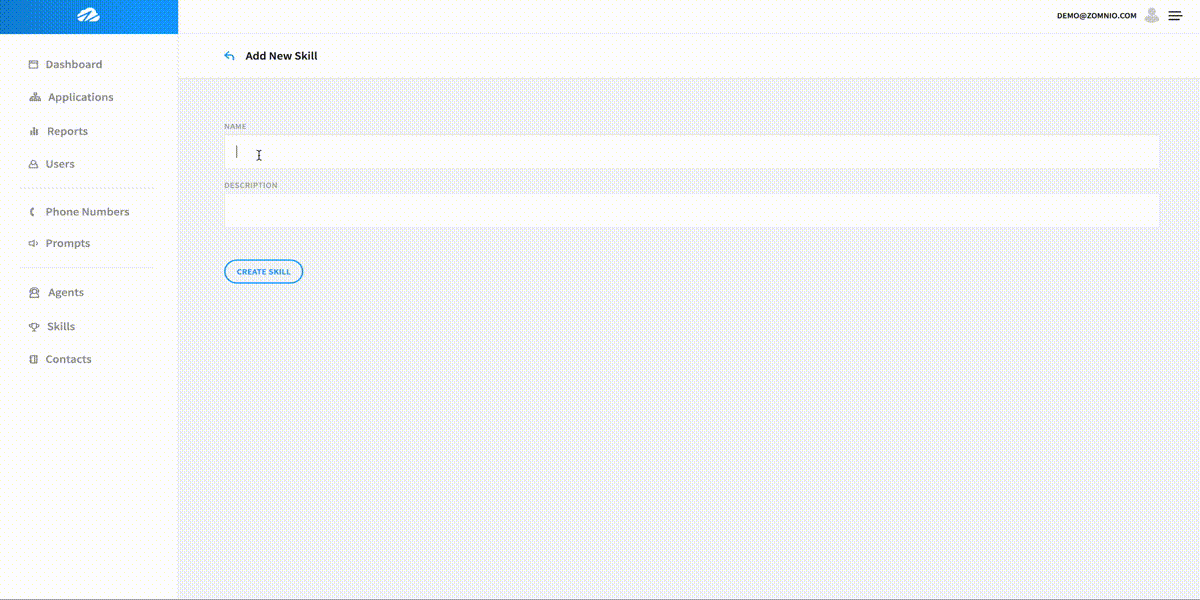
Fill in a Name for the skill and give it a description.
Then click on Create Skill. Your skill will be successfully created.
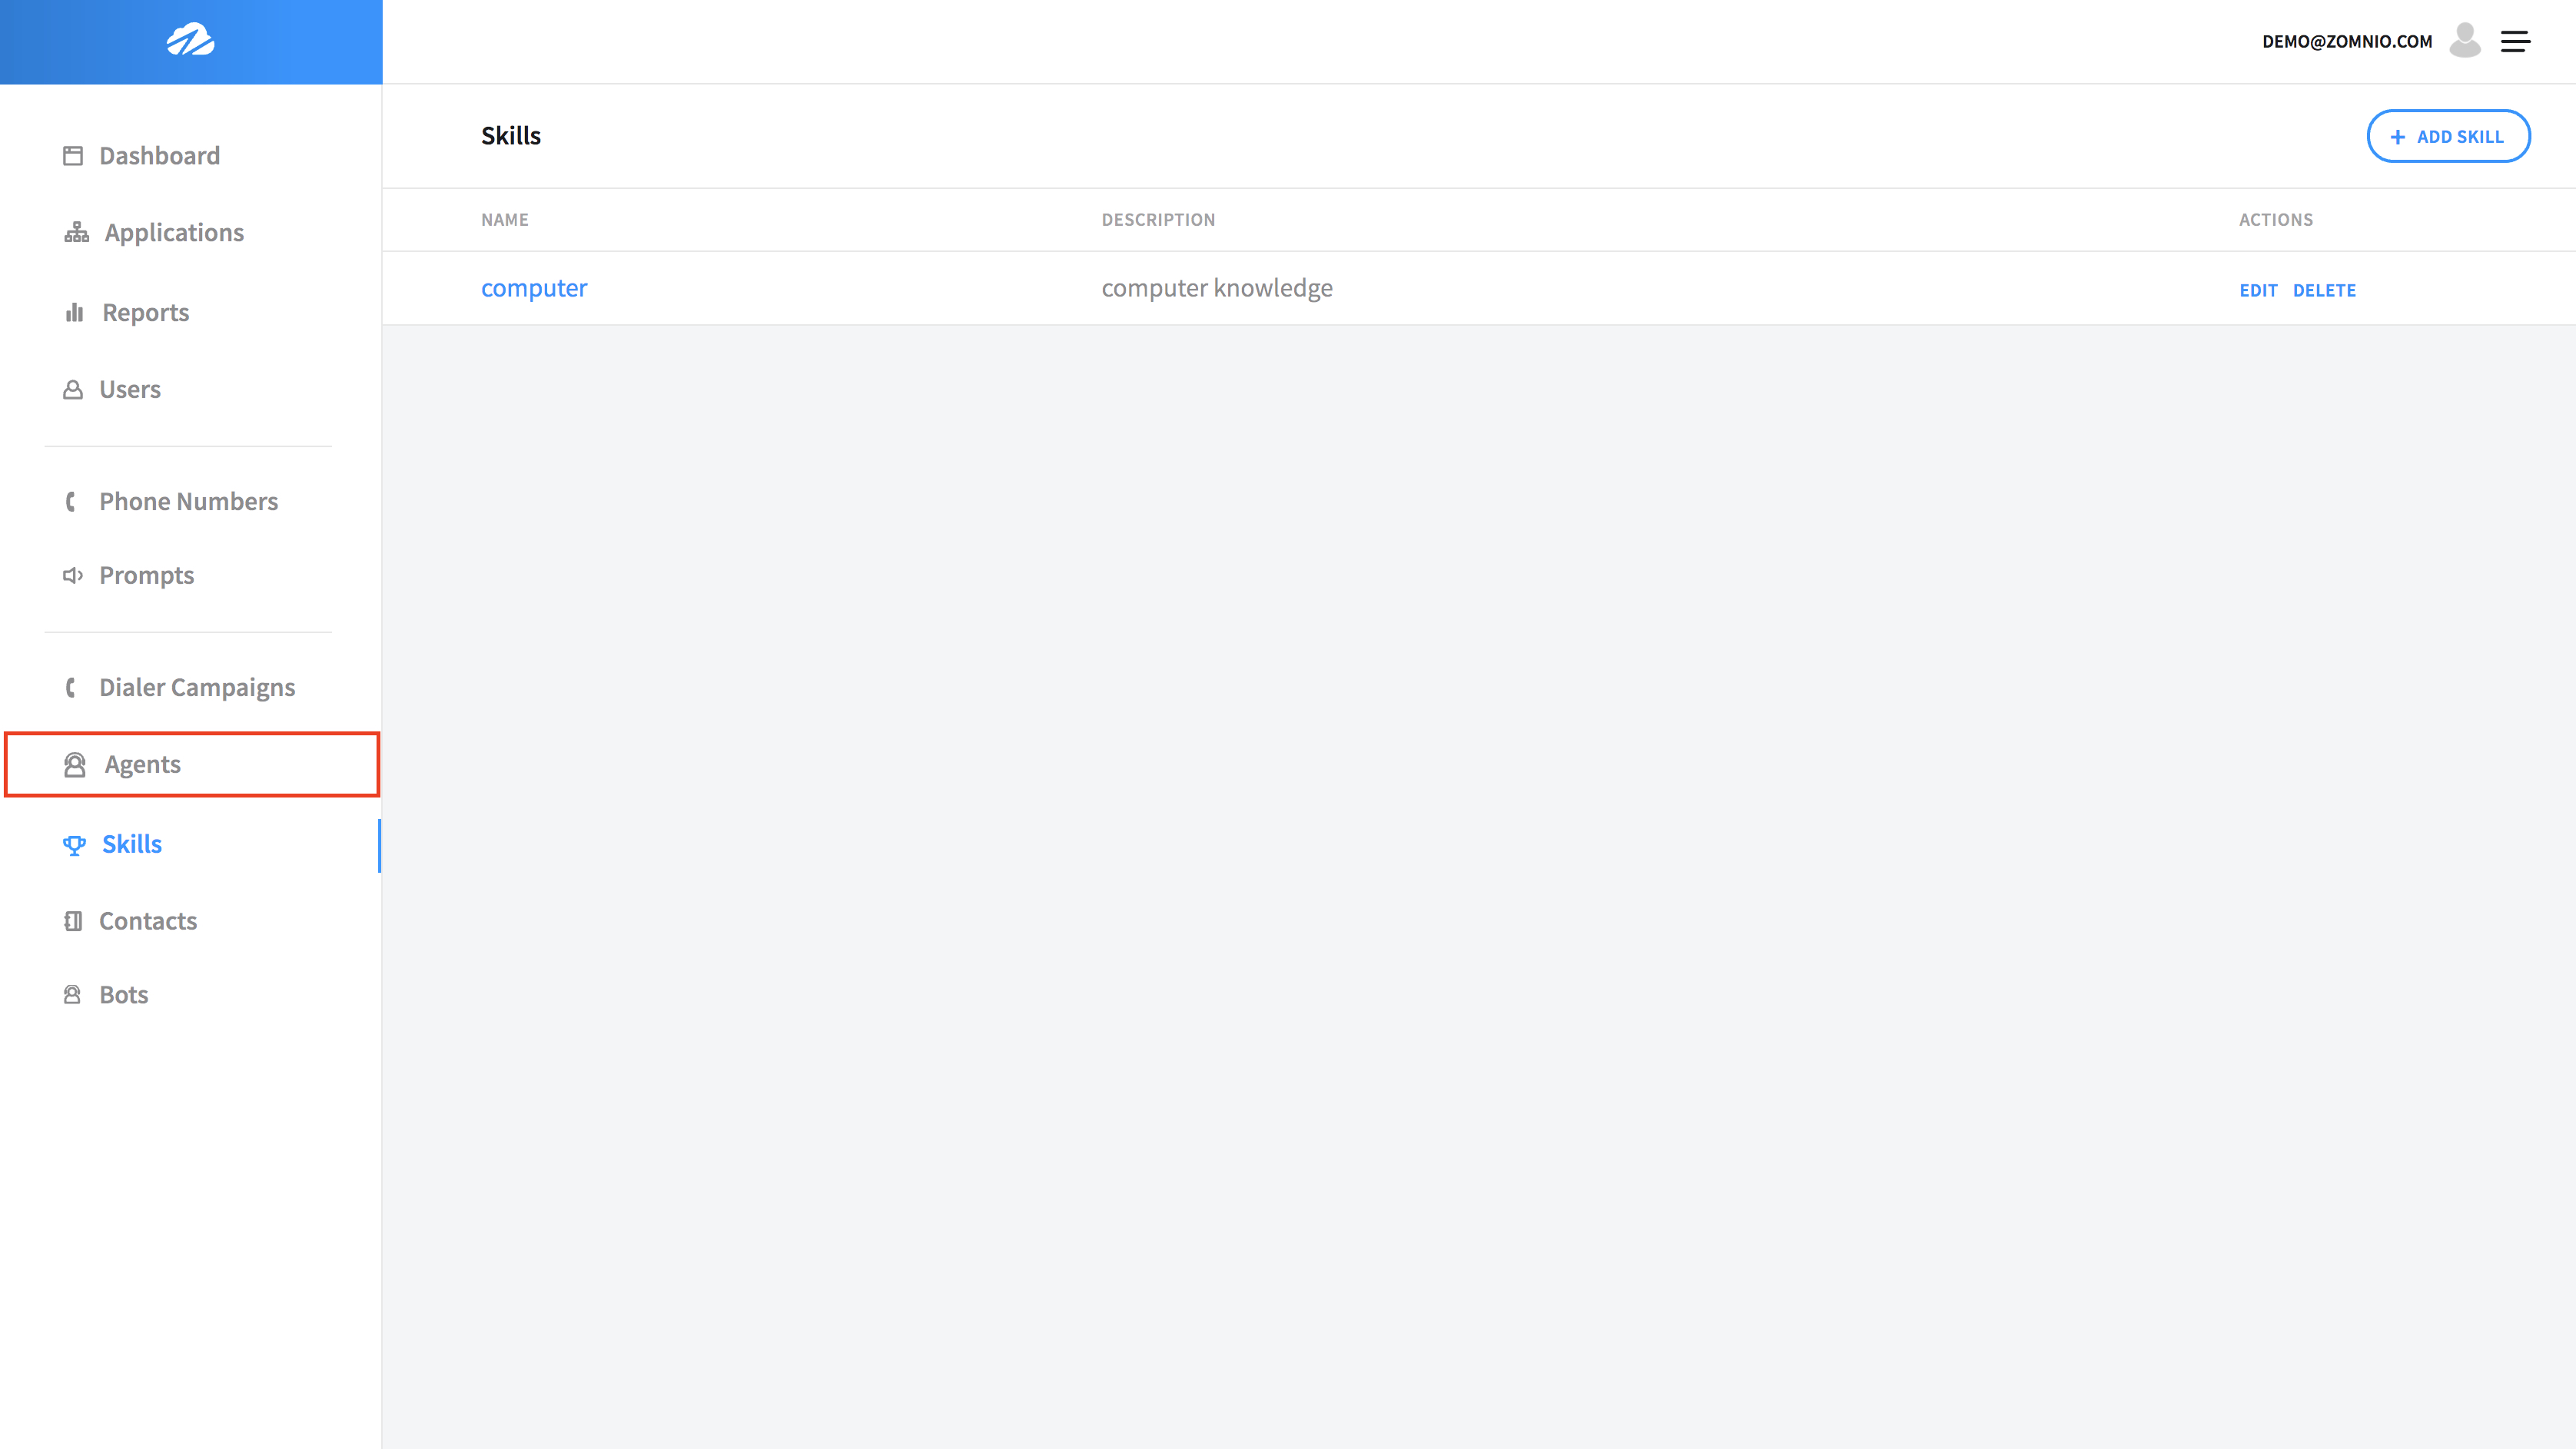
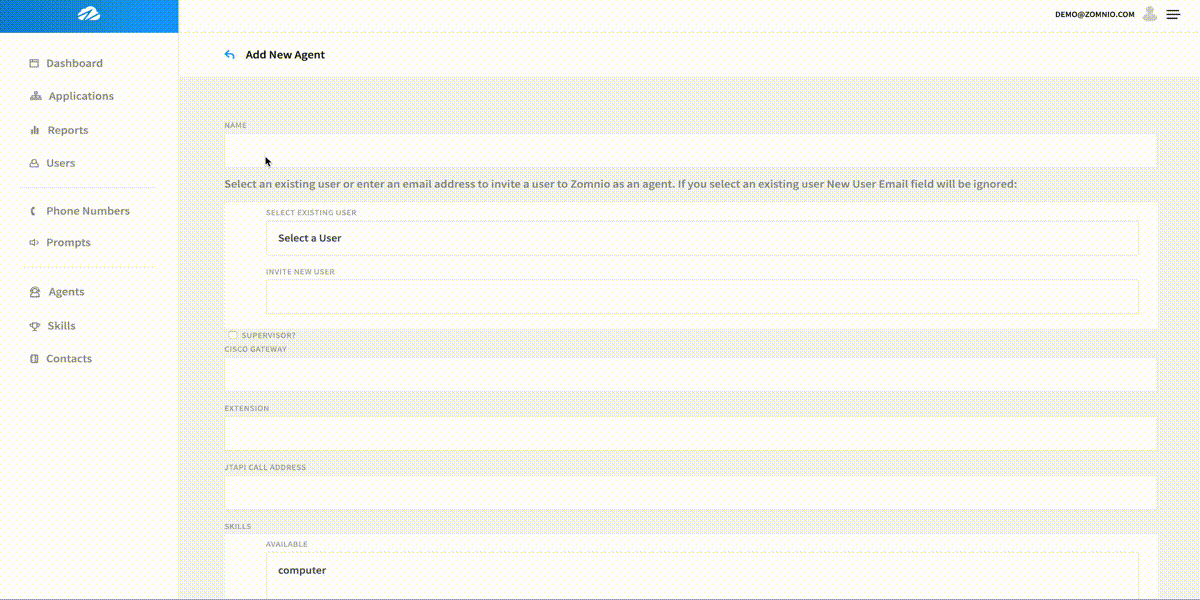
Step 2: Create an Agent
Click on Agents
Click on + New Agent in the uppper right corner.

Start by filling out the Name of the Agent and selecting an Existing User email.
Then assign the skill that we created eariler.
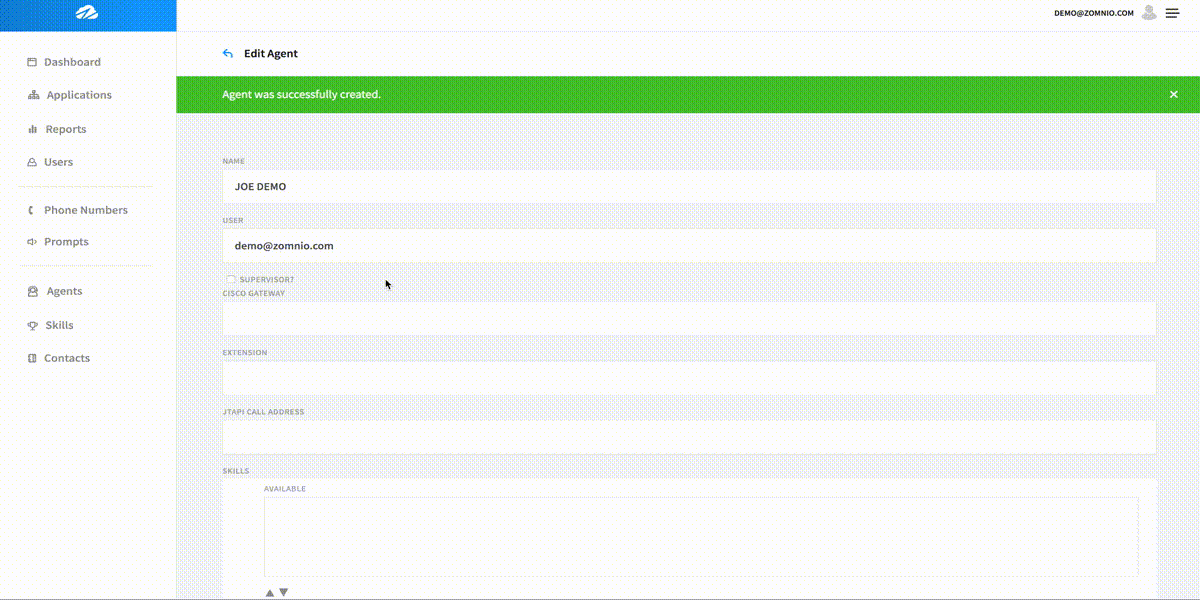
Click on the Submit button at the bottom and you will see you Agent successfully created.
Next scroll down to the assigned skills and rate the Agents compentency.
Click on Update Compentency.
Now we have to go into the Call Flow Editor and create a call flow that will queue our Agent.
Step 3: Create the Call Flow
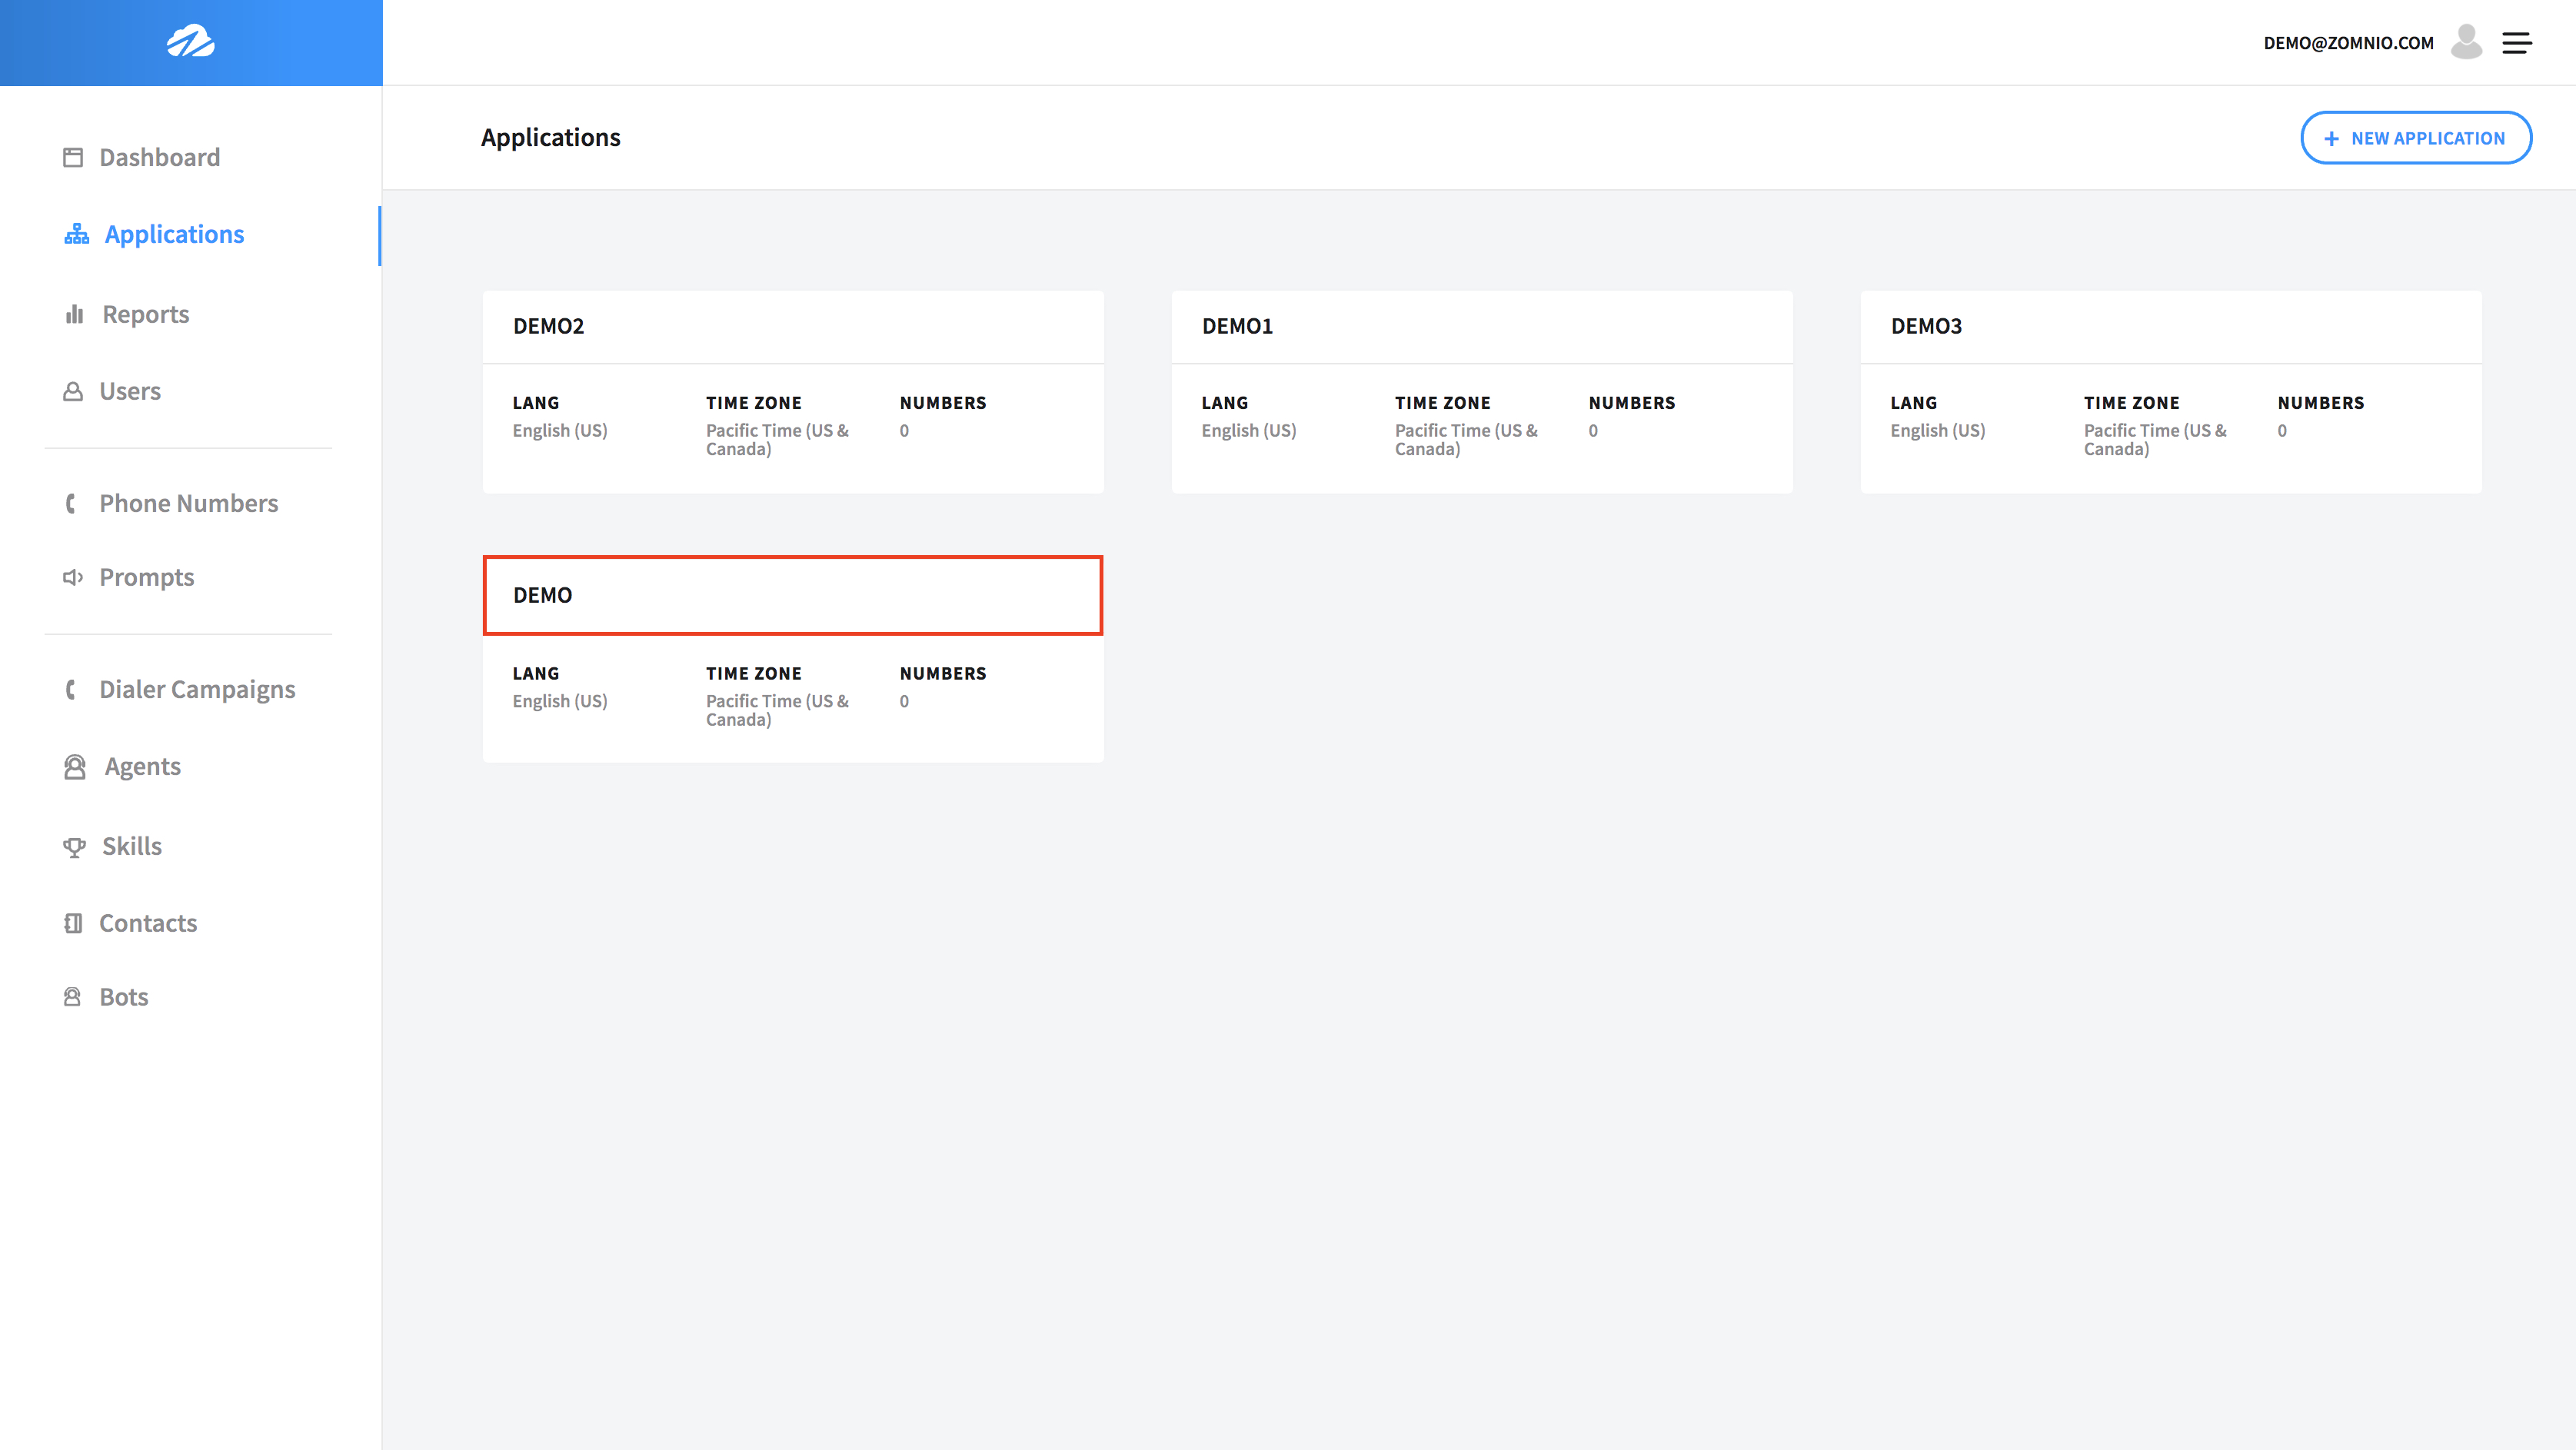
Click on Applications.

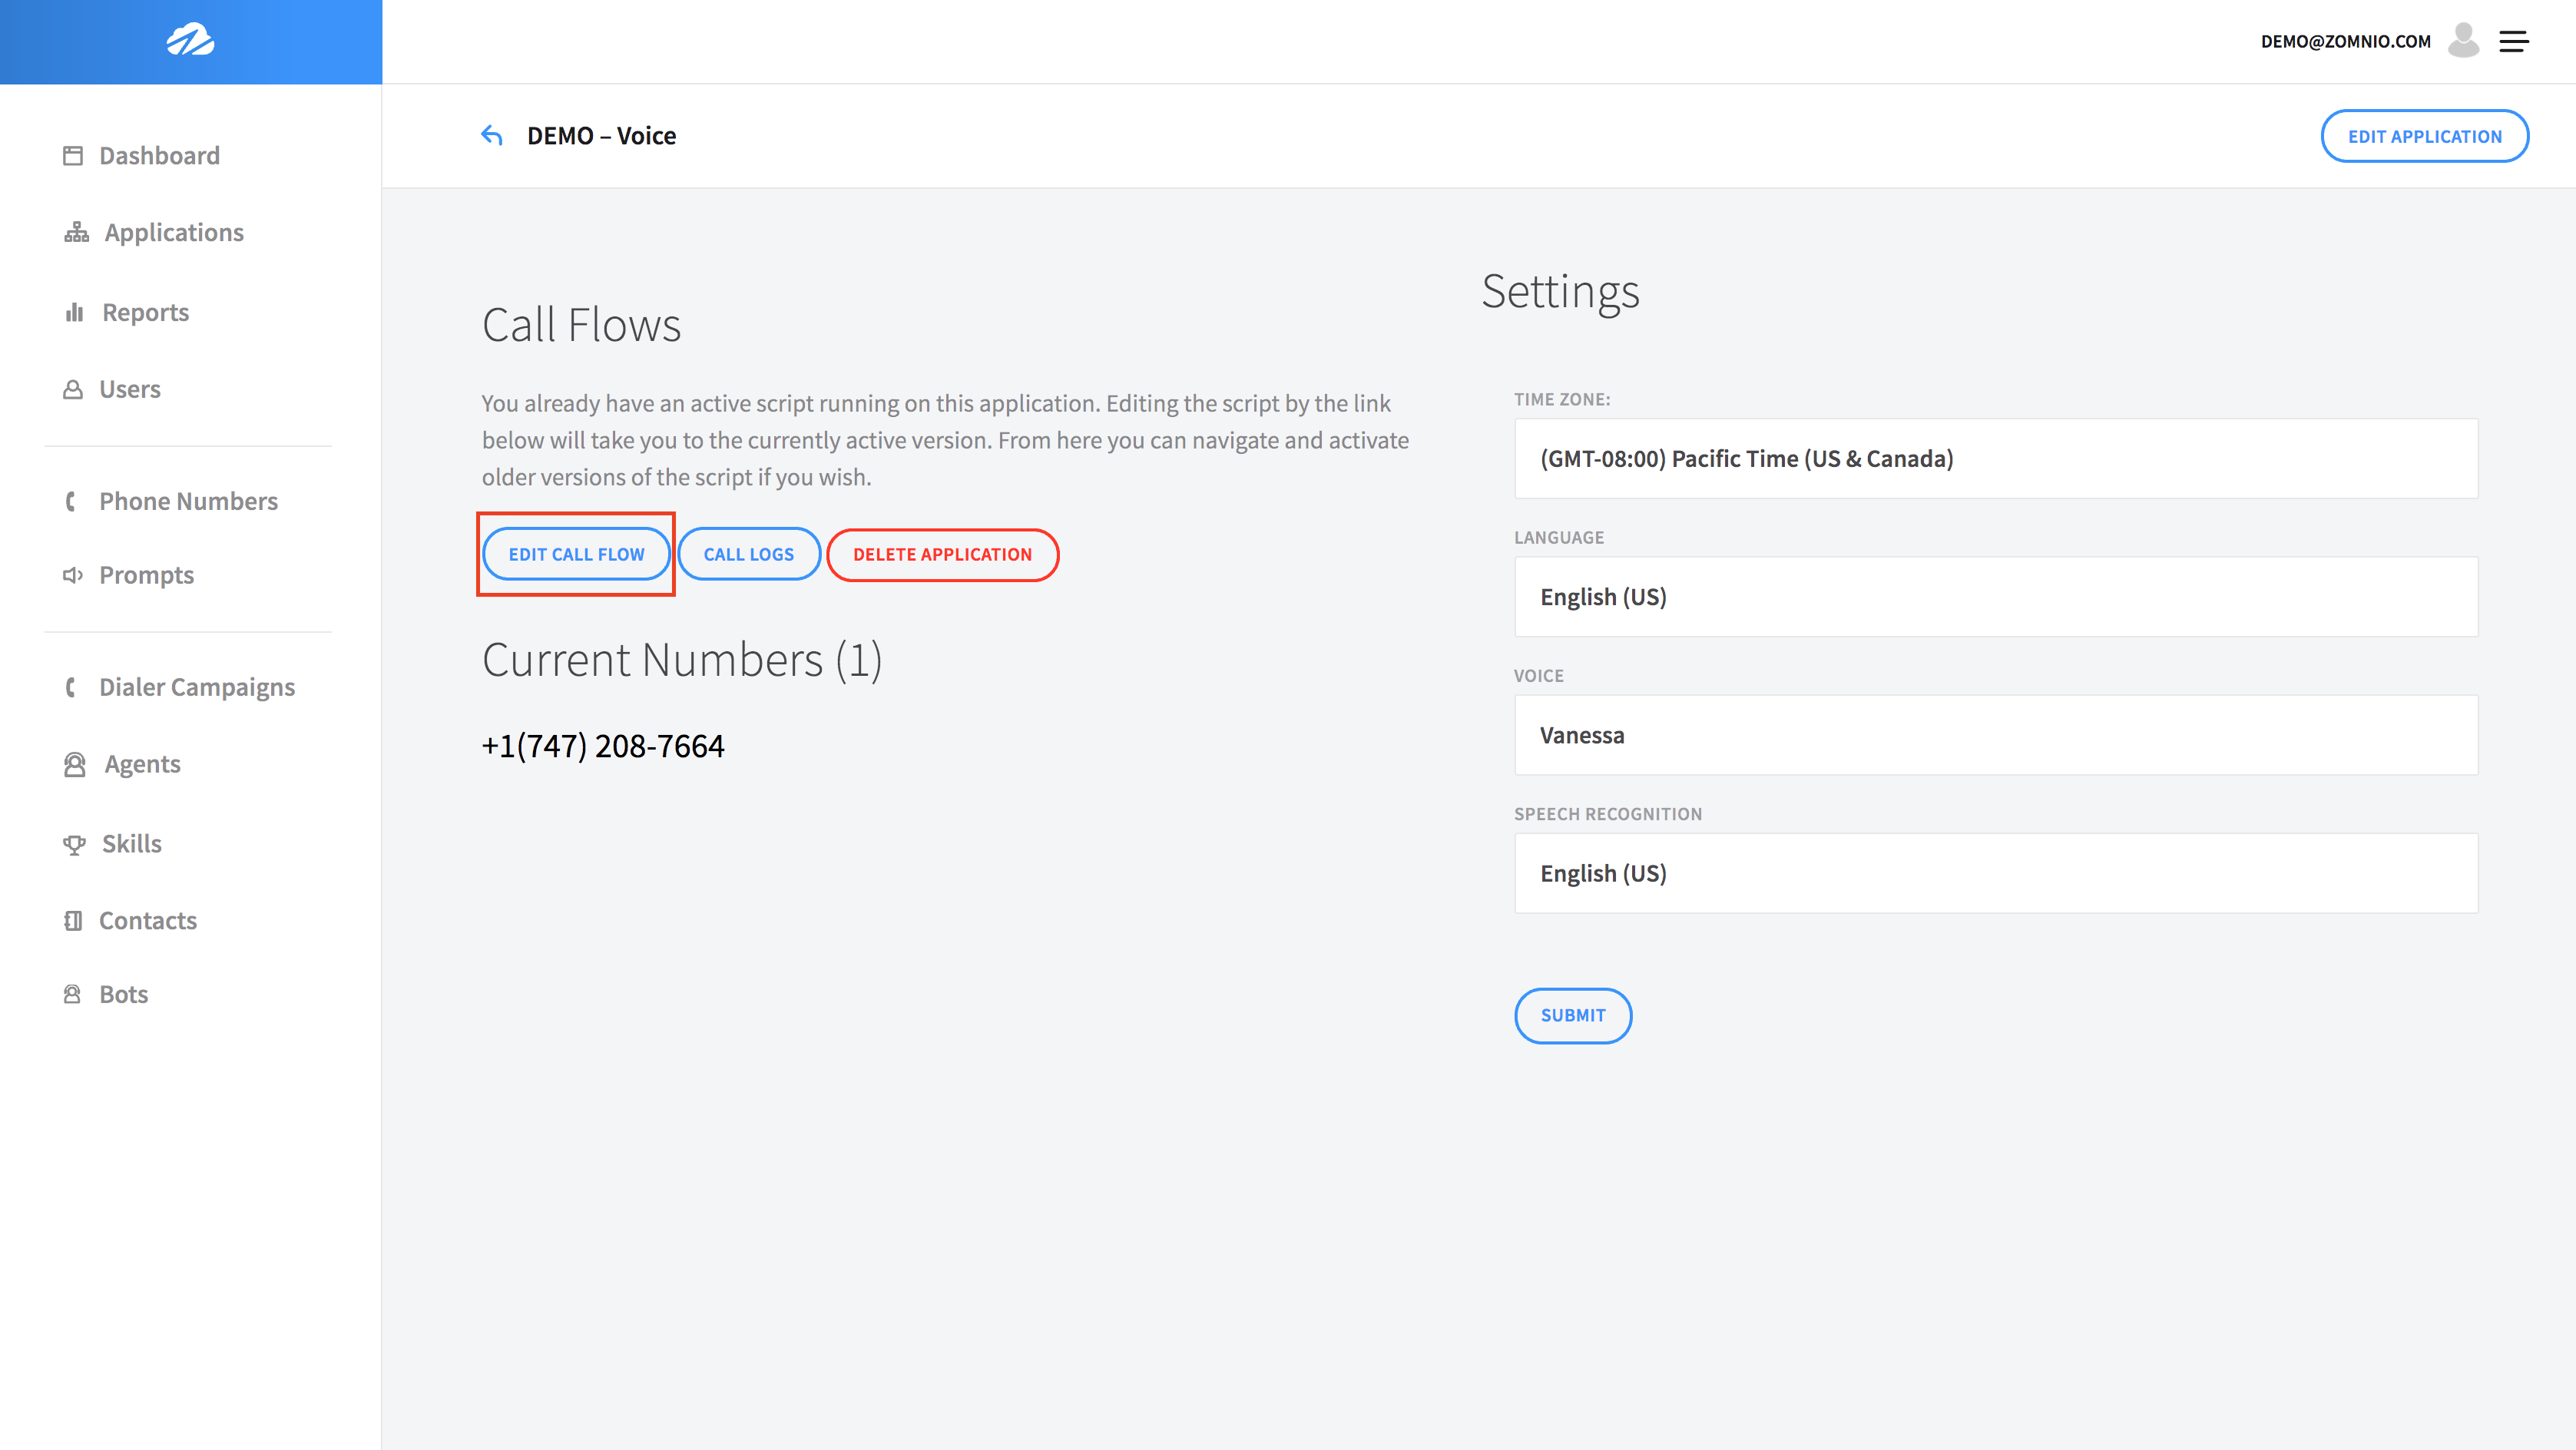
Click on the Application Name.
Click on the Edit Call Flow.
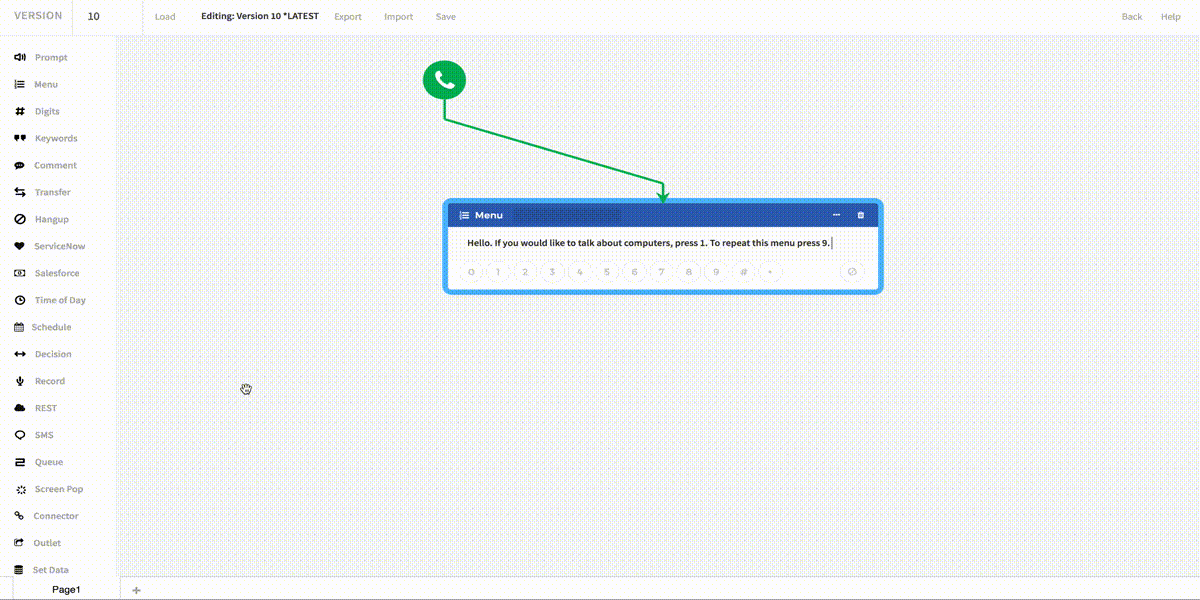
Drag the Menu step into the Editor and add the following text:
Hello. If you would like to talk about computers, press 1. To repeat this menu press 9.
Then connect the green phone icon to the Menu step.
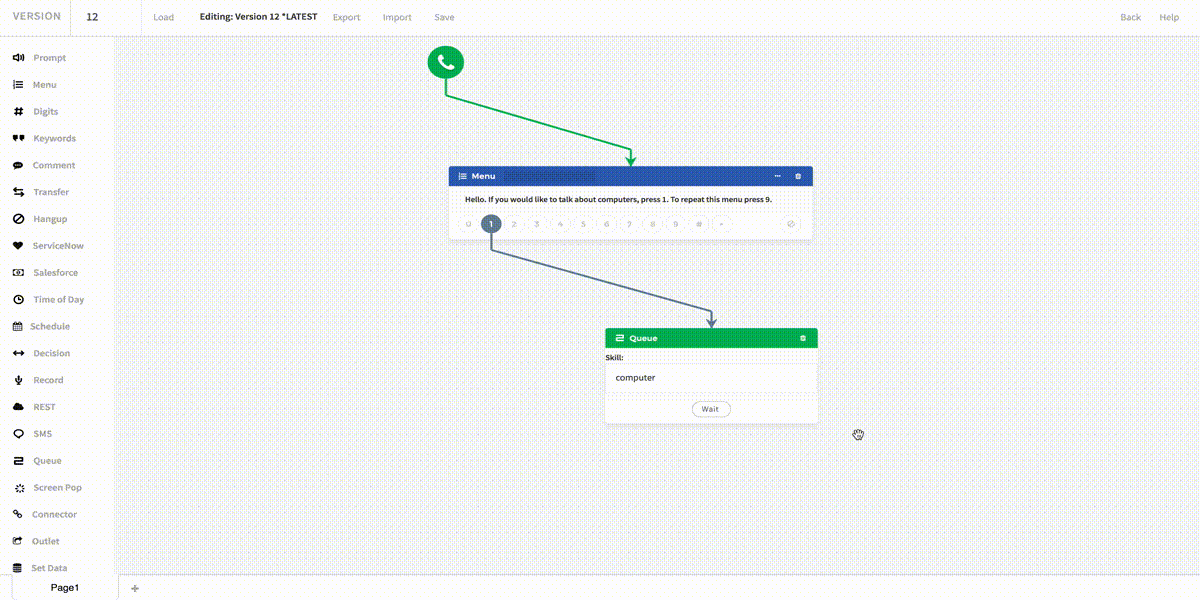
Next drag the Queue step into the Editor and select the Agent skill.
Connect the 1 on the Menu step to the Queue step.
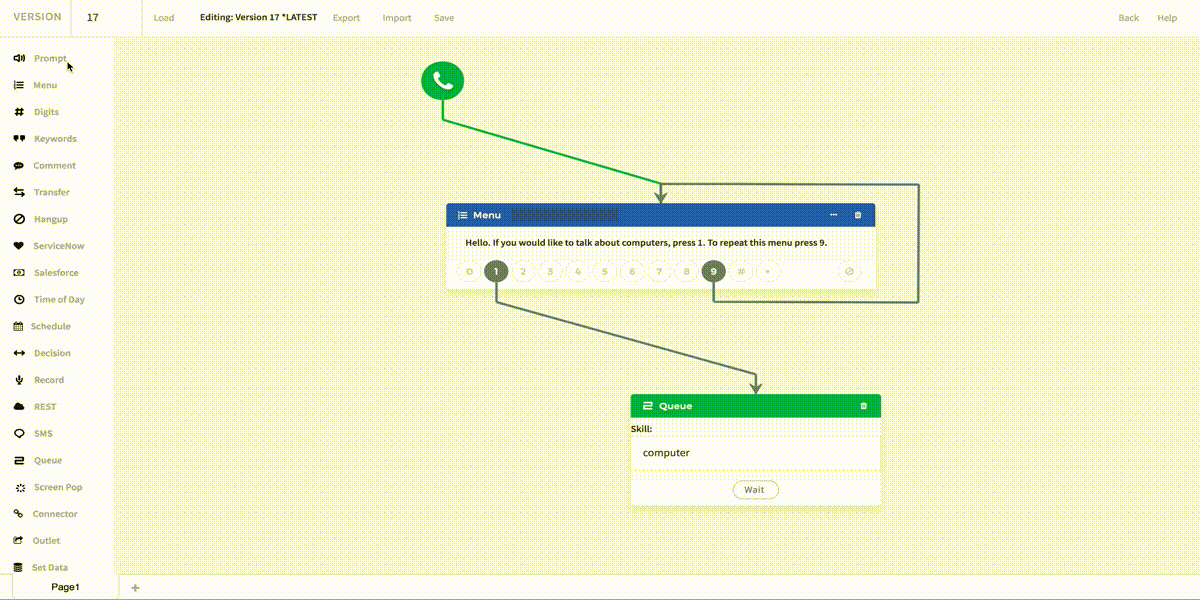
Now we can connect the 9 back onto the Menu step.
We will now add a Prompt to the Editor, that will be used as the hold message.
Note: If the Agent status is Not Ready, the Call Flow will move to the hold message prompt until the status is Ready.
Drag the Prompt into the Editor, and add your hold message.
Connect the Queue to the Prompt and connect the Prompt back on itself to create the loop effect.
Don't forget to click Save!
In the next step, we will sign in to the Agent Desktop and get ready to answer some phone calls!
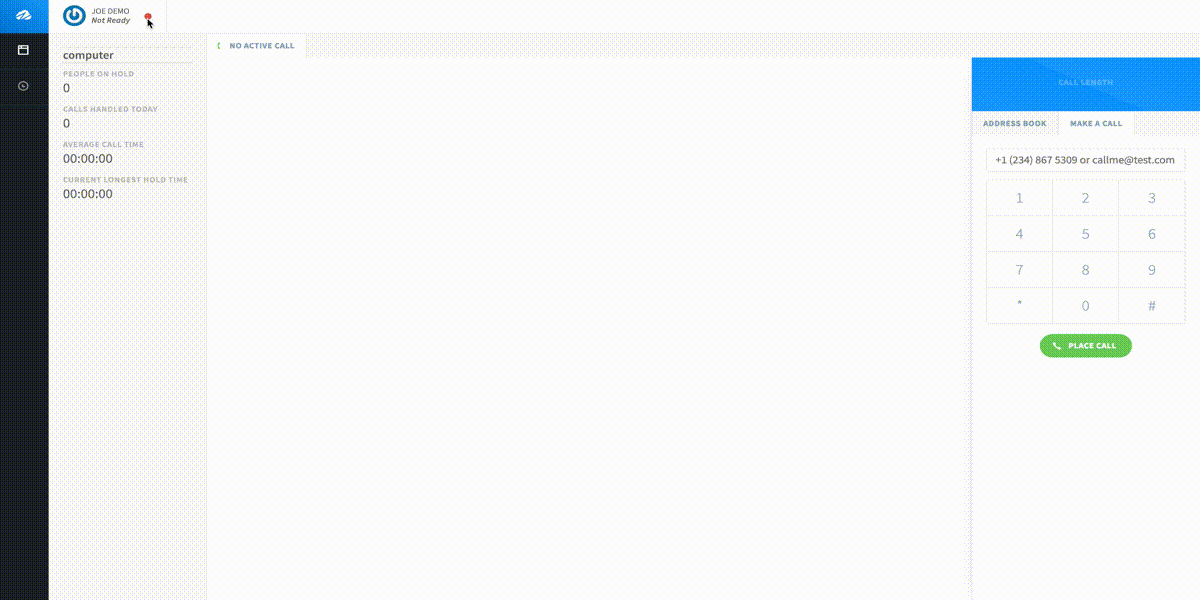
Step 4: Sign In to the Agent Desktop
Type in the browser https://agent.zomnio.com/.

Change your Ready status in the upper left corner.
Note: If the Agent status is Not Ready, the Call Flow will move to the hold message prompt until the status is Ready.
Call your app telephone number and get ready for your desktop to ring!
In the top part of the Desktop, you will see the Incoming Call From, and the button to Answer Call.
Note: When you answer the call you can use your built in desktop microphone or headset to speak on the call.
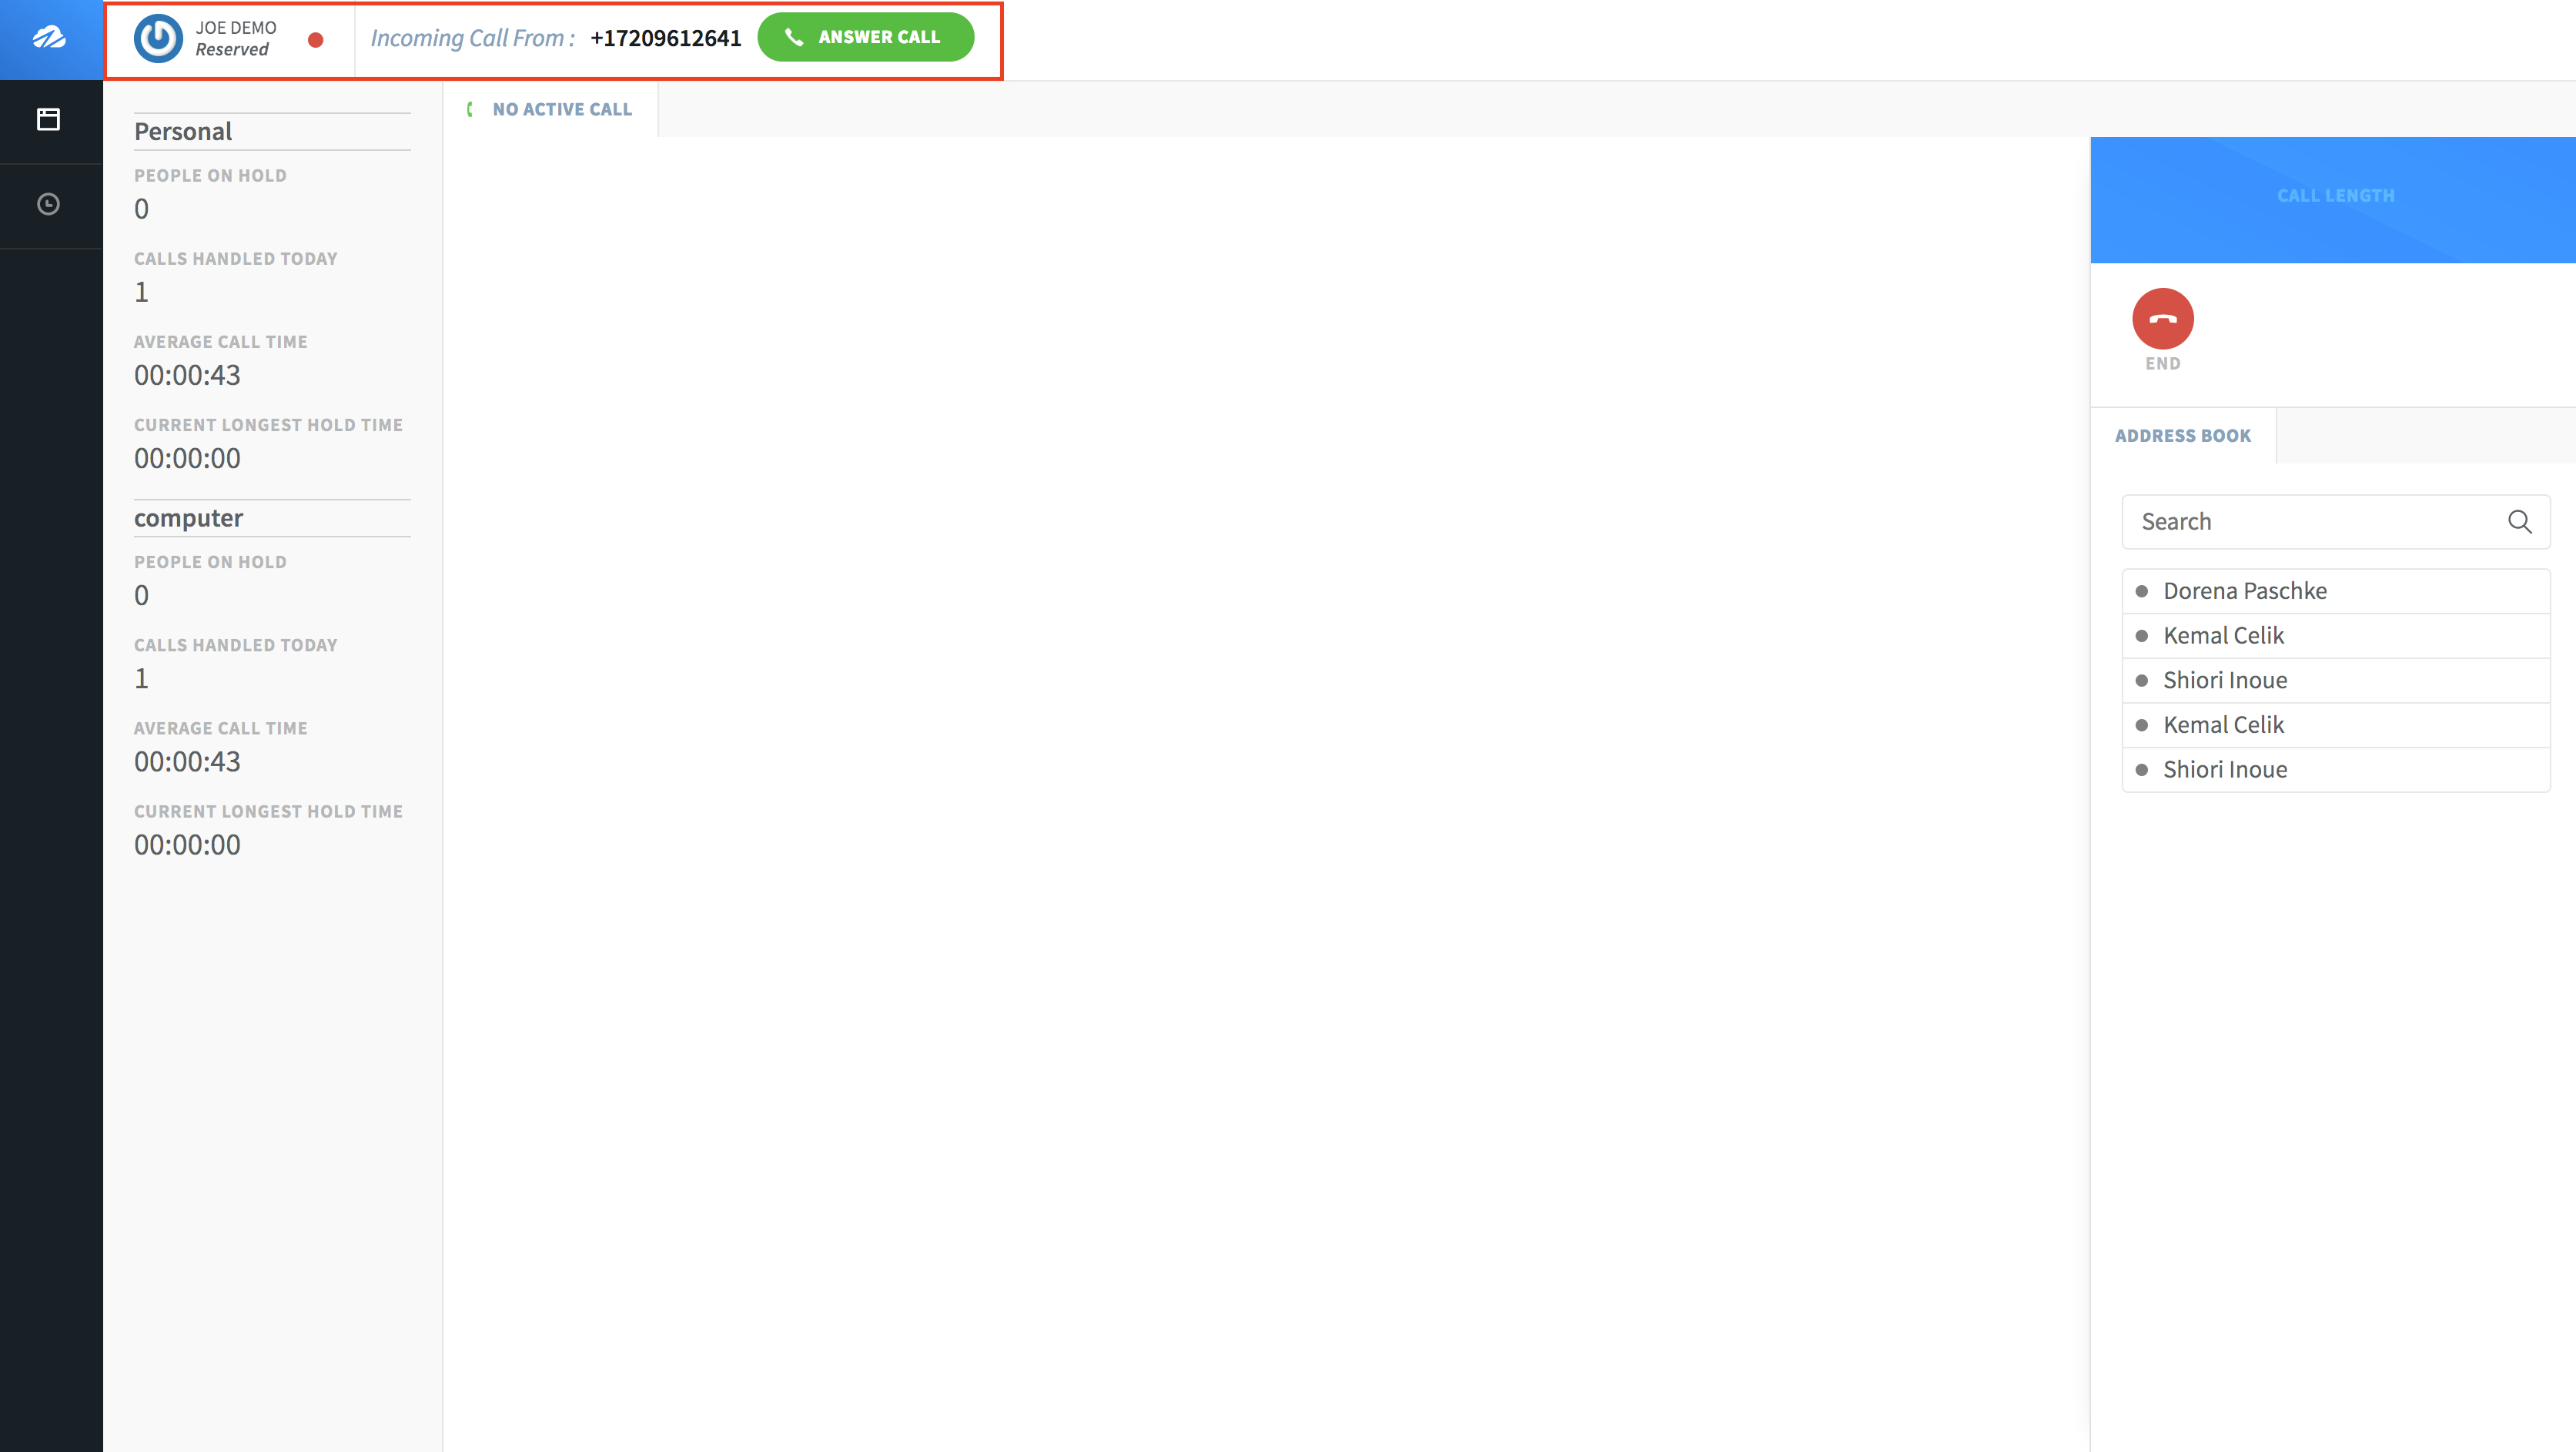
On the right side you will see a call timer as well as options to hold, mute, and end the call.
On the left side you will see your Agent stats.

Now you have a basic Call Center!
We will cover more options to customize this Call Center in the Editor Advanced section.